


Don't you just love the feeling of snuggling up under your covers reading a good book while hearing the soft pitter patter of the rain outside your window and the huge gusts of wind that twirl leaves of all colors across the hazy sky? Ok, maybe that is a little bit of a stereotype for the perfect fall weather, but nonetheless, reading is an excellent autumn past time. So we have come together to create a tutorial these cute origami corner heart bookmarks inspired by Rena T's Tutorial that are super simple and add the cutest touch to your books. So grab your scrap paper, newspaper clippings, or magazine pages and get ready to make a bunch of these in just 17 easy steps!

Start by picking out the scrapbooking paper you would like to use,
you can also use newspaper or magazine pages.

Cut out a small square of the paper, about 4" by 4"

Now fold the paper in half diagonally, non-pattern sides together.
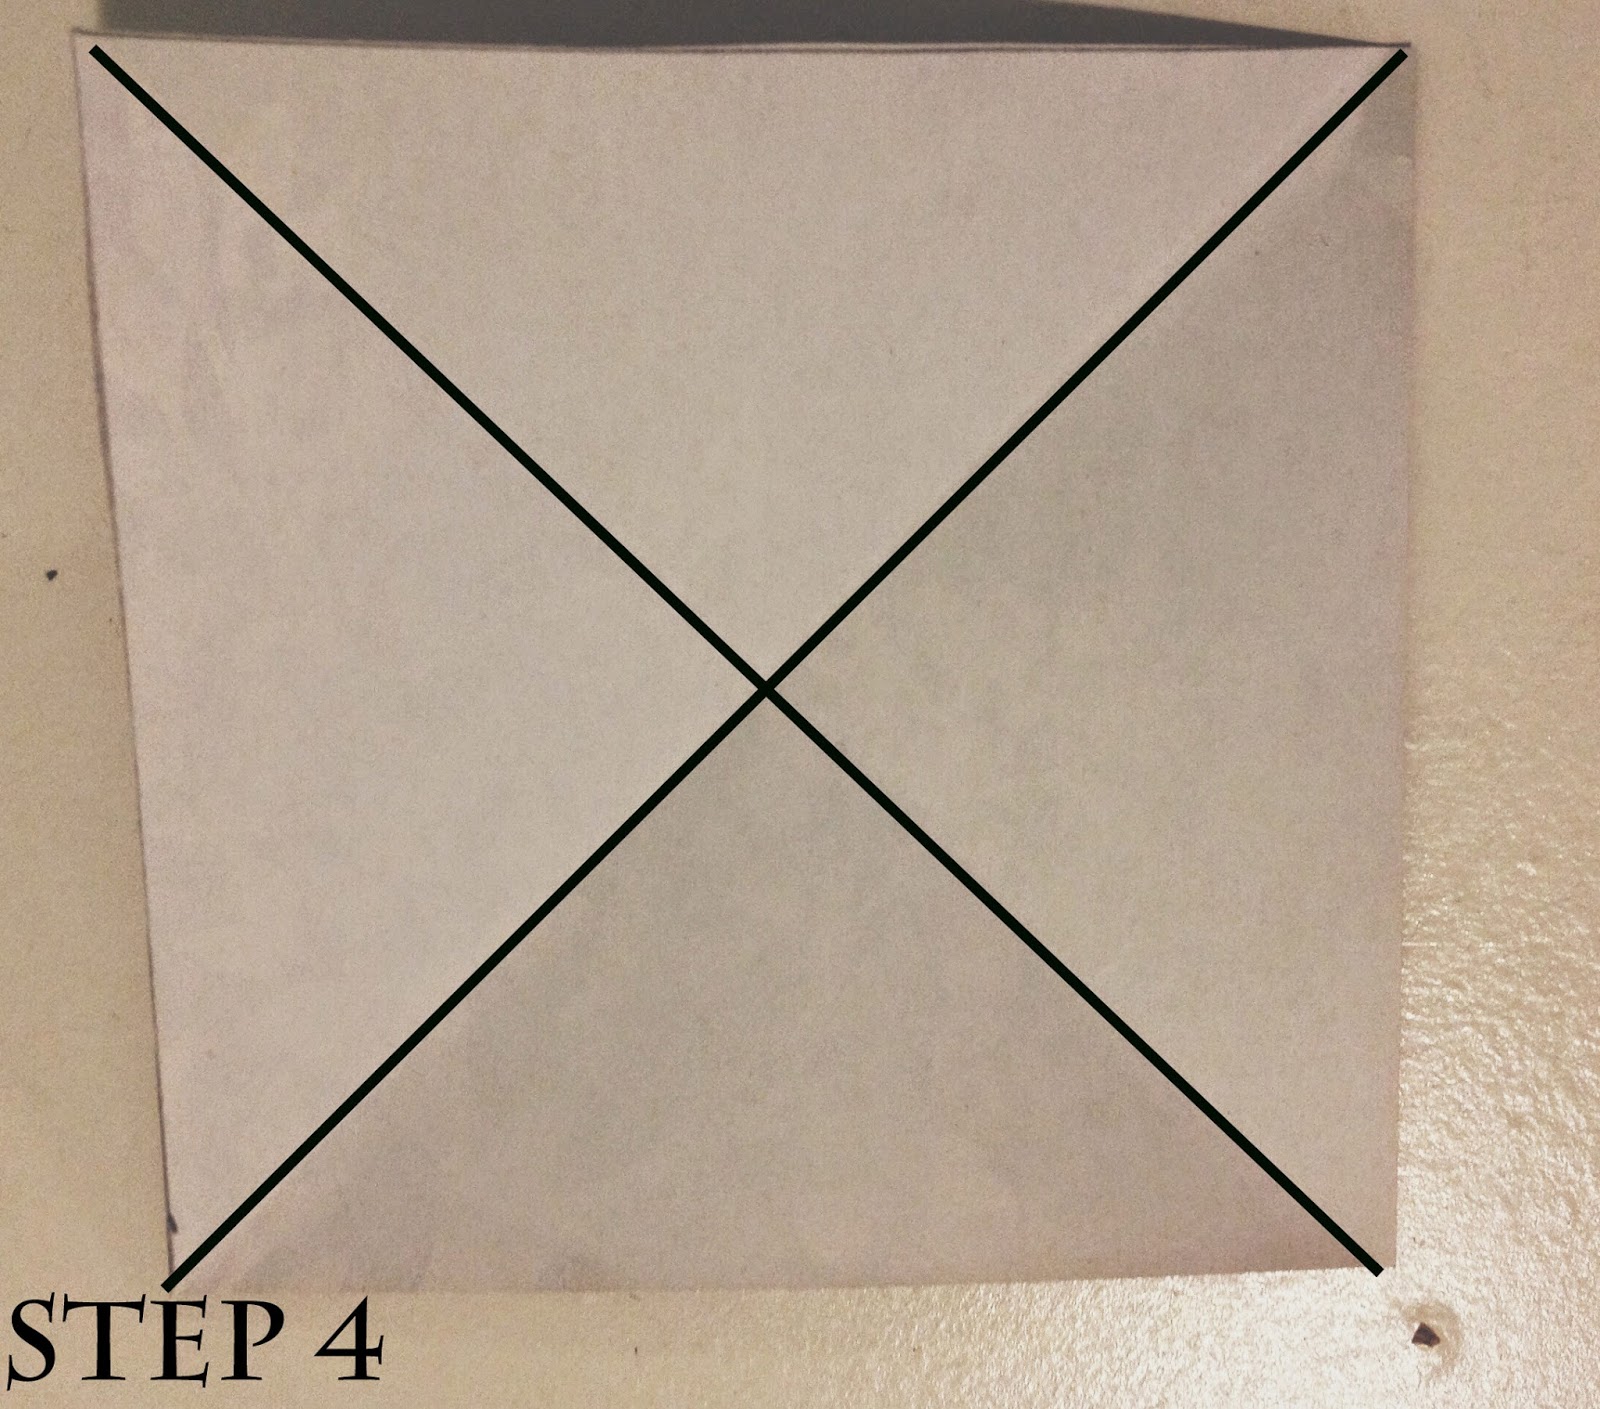
Fold it in half the other way diagonally then open it up. You should have fold marks similar to the black X in the picture above.

Fip your lil paper over and fold in half horizontally. Remember, these folds
are just for guidelines.

This step may be a little confusing, however it is actually really
easy! All you gotta do is fold along your folded
lines on each side, then fold the top down. Don't really
think about it, just go with the flow. Once you fold it,
it should be a triangle or tent as the original tutorial described.

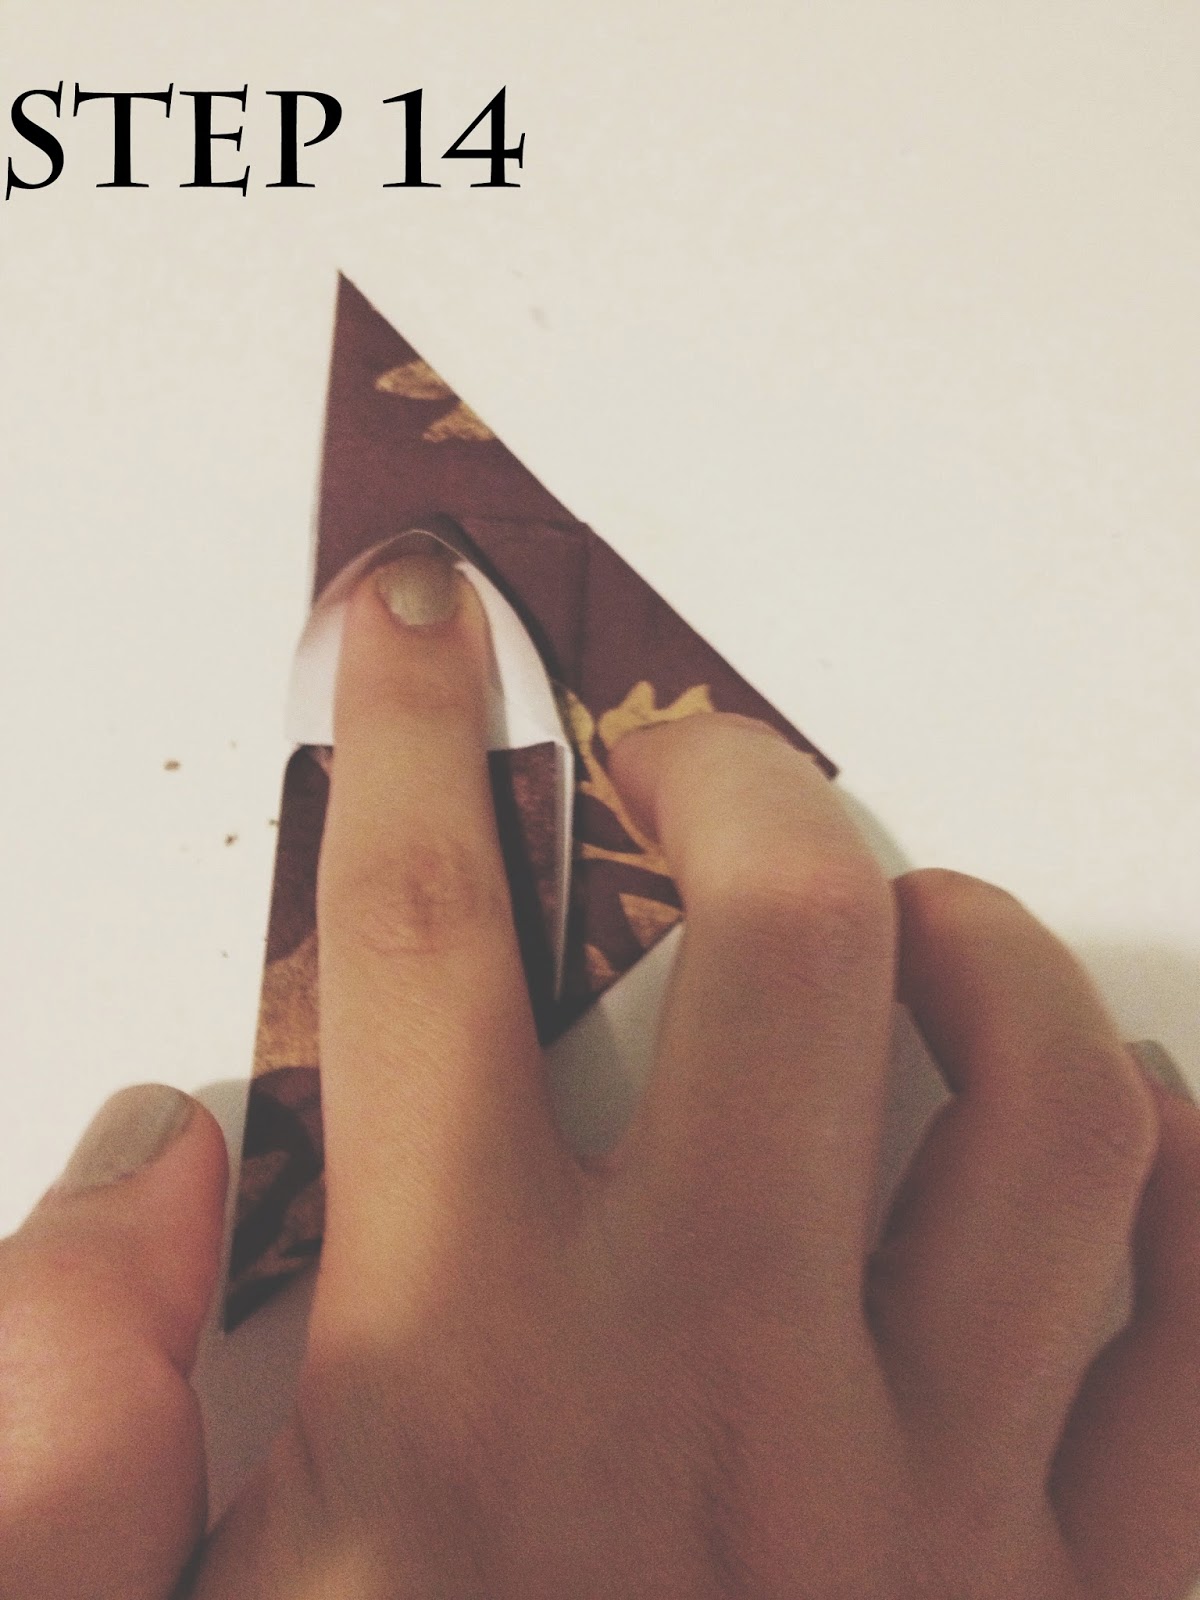
Now you are going to make your large triangle into a small
triangle by folding up the first corner layer of paper on both sides up
to the top. Sorry, it is hard to see in the picture above.

Now unfold the corners; it should look
something like this.

Fold over the top triangle, then unfold it again.

Open up the first layer of paper.

Fold up each side. It should look something like this.

Fold down the rectangle at the top.

Fold the rectangle in half upwards.
Tuck your finger in the corner of your tiny rectangle,
folding it into a little triangle. Do this on the other side
as well.

Your bookmark should now look like this. Now see that lil black box?
Fold that up. Fold the one beside it too.

After folding up the corners, it should look
like this. Almost done!

Fold up a little triangle on both sides. This is so the heart
won't be pointy. Last step!!

Now lift that flap up. And there you have it! Your heart
bookmark!


You can try this out with different paper. It is actually quite easy once you get
the hang of it.


We hope you enjoyed this tutorial and are having a fantastic November so far. Can you believe it-Christmas is just around the corner! Keep watch for some more book reviews and maybe even some Christmas gift ideas for family and friends. But don't worry- we won't get too ahead of ourselves, after all it is still fall! Make sure you enjoy each day you are given. Comment below what your favorite part of fall is and/or give feedback on the blog. We absolutely love to hear what you guys think so we can make improvements. Have an amazing rest of your Sunday lovelies!
♡
With love,
Mickey & Jen
Pins & Paperbacks Blog
No comments:
Post a Comment